It Started with a Kit FINISHED, with pics

Painting? Routing? Set-up tips? Or just straight-up making a guitar from scratch? Post here, and post pics!

Moderated By: mods

User avatar
Bacchus
Whatever's handiest
Posts: 23475
Joined: Thu Apr 20, 2006 4:10 am
Location: wandering

Post by Bacchus »

Nearly done with the finish.

aaand, I've ordered a Wilkinson VS50mkii to go on it. For installation, looking at the diagram below, I need to drill the bass side hole exactly where the current hole is, then drill the other one 56.4mm to the treble side, using the existing holes as a guide?

Anyone any experience with this?

Image
Image
User avatar
HNB
.
.
Posts: 4089
Joined: Sun Apr 15, 2012 8:32 pm
Location: Puyallup, WA

Post by HNB »

Sexy finish. I am a sucker for dark walnut looking finishes.
User avatar
Bacchus
Whatever's handiest
Posts: 23475
Joined: Thu Apr 20, 2006 4:10 am
Location: wandering

Post by Bacchus »

Wilkinson arrived today. It's proper nice. Quite chuffed with it and looking forward to getting it all finished now.

I've rethought my plan for the holes. The centre of the bass side notch is a mil or two outside the E string saddle. So I think I need to measure how far out it is, then drill there. Then drill 56.4mm below that.
Image
User avatar
Gabriel
.
.
Posts: 3178
Joined: Sun Apr 11, 2010 8:46 pm
Location: NYC

Post by Gabriel »

Looking good so far! I'm excited to see how this turns out.
User avatar
MattK
.
.
Posts: 1073
Joined: Mon Aug 11, 2008 6:06 am
Location: Hobart, Australia

Post by MattK »

Bacchus wrote:I've rethought my plan for the holes. The centre of the bass side notch is a mil or two outside the E string saddle. So I think I need to measure how far out it is, then drill there. Then drill 56.4mm below that.
No, you need to figure out the centre line running down the neck, through the centre of the current bridge, then put the centre of the saddles of the new bridge on that line. Anything else, you are liable to think it out a few different ways and a mistake would be pretty painful to fix. Get the centre line right and everything else will be right.
User avatar
Bacchus
Whatever's handiest
Posts: 23475
Joined: Thu Apr 20, 2006 4:10 am
Location: wandering

Post by Bacchus »

Thanks for the advice. I thought might have to go the long way round. Wouldn't the centre of the six existing holes be on my centre line though? I'm trying to avoid making some mistake somewhere in the process of putting on the neck and marking a centre line.
Image
User avatar
MattK
.
.
Posts: 1073
Joined: Mon Aug 11, 2008 6:06 am
Location: Hobart, Australia

Post by MattK »

Yes I think you should be OK with that - but it's the centre you have to pay attention to, not the bass side or treble side holes. If it was me I'd rule a line through those holes, measure the centre point and mark a line square to that in pencil enough to see either side of the new bridge. Then the holes for the new bridge go where they go.
Having not had a bridge there before you will need the neck on to figure out how far back from the neck pocket it goes, though. Unless you have some other way to know?
User avatar
Bacchus
Whatever's handiest
Posts: 23475
Joined: Thu Apr 20, 2006 4:10 am
Location: wandering

Post by Bacchus »

Hmmmm, I was going to put it the same distance back as the current bridge and hope the saddles had enough travel in them to make it okay. I suppose there's no point guessing things though.
Image
User avatar
MattK
.
.
Posts: 1073
Joined: Mon Aug 11, 2008 6:06 am
Location: Hobart, Australia

Post by MattK »

Nah that should most likely work if the bridges have the same basic design.
Of course make sure it's the front edges of the saddles themselves which are in the same place on the two bridges, not the edge of the bridge plate.
User avatar
Bacchus
Whatever's handiest
Posts: 23475
Joined: Thu Apr 20, 2006 4:10 am
Location: wandering

Post by Bacchus »

Distance from saddle to edge of plate on the Wilkinson looks to be 8mm from the diagram above. Will check strat bridge when I get home.
Image
User avatar
Bacchus
Whatever's handiest
Posts: 23475
Joined: Thu Apr 20, 2006 4:10 am
Location: wandering

Post by Bacchus »

I know that eye-balling it isn't the way to do this, but the distance from saddle to post/screw seems to be much the same between the two bridges. I'm also confident that there is enough travel in the Wilkinson to make this not be a risk.

Image
Image
User avatar
Bacchus
Whatever's handiest
Posts: 23475
Joined: Thu Apr 20, 2006 4:10 am
Location: wandering

Post by Bacchus »

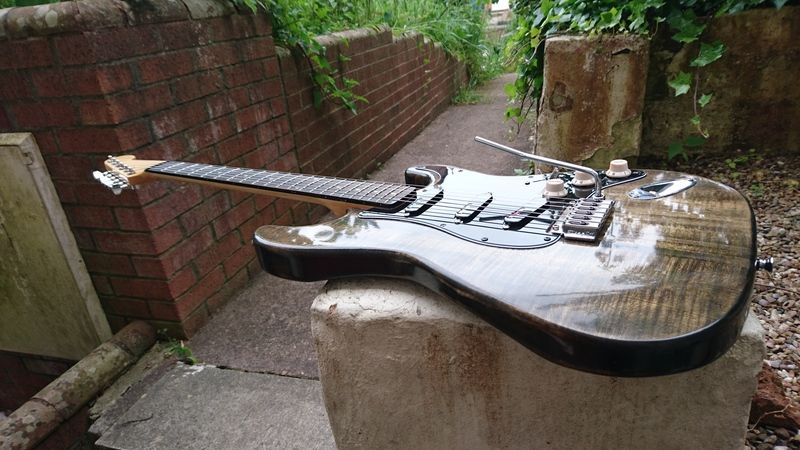
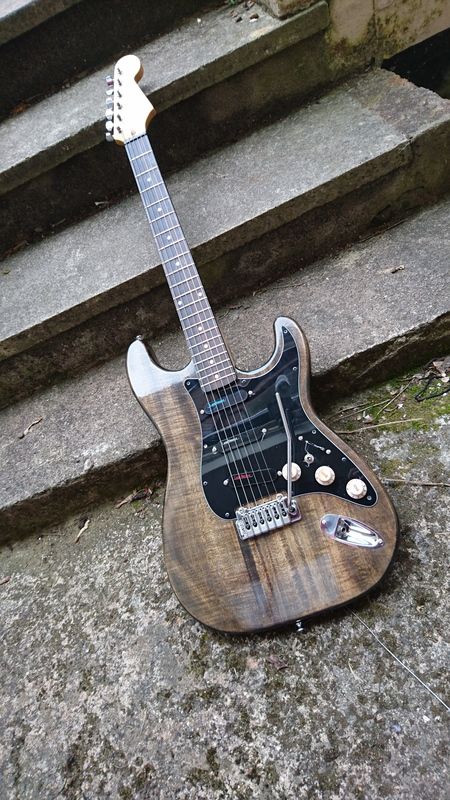
I ordered the pickups for this last week, and decided that I was satisfied with the finish on the body.

A note on the finish: I have had it flatter and shinier, but always with some flaw or other. I live in a basement flat off a main road and it seems to be a bit of a dust trap. If I leave a guitar alone for two or three weeks it's caked in dust. After two months it'll be so dusty that it will need new strings and a deep clean to make it playable again. Trying to get a good finish has been a constant battle. At a certain point I had to decide that I was giving it one more go, and whatever I ended up with would have to do. I did this probably half a dozen times! I'm happy with the finish I ended up with, and I suspect it will wear anyway, I don't think Tru-Oil is particularly durable.

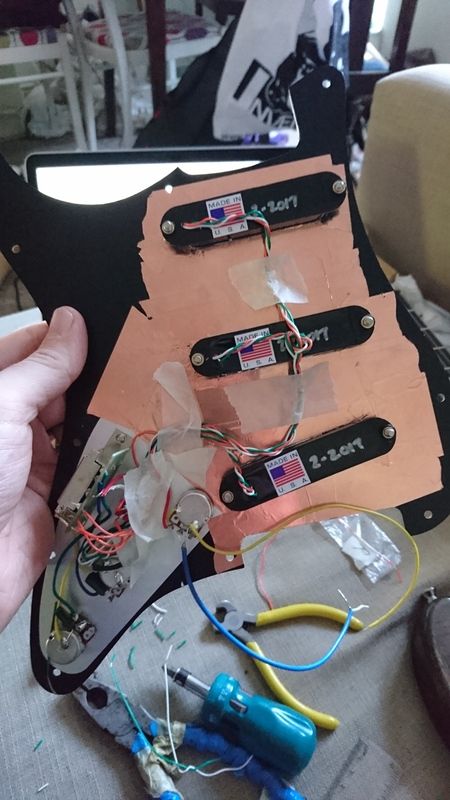
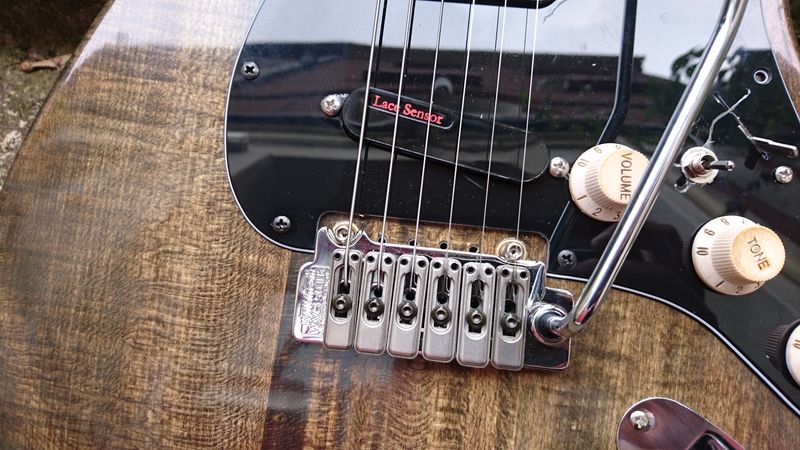
I took the body into school on Thursday to drill the holes for the studs for the bridge and the pickups arrived today.

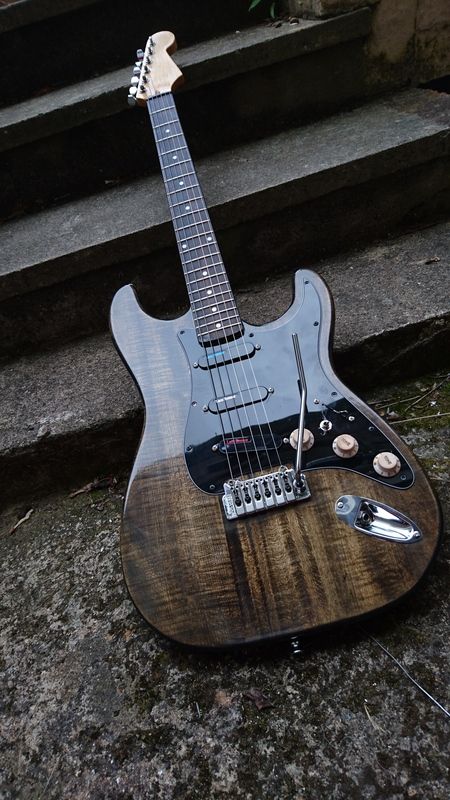
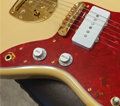
Today I put it together, and added a 7-sound switch.

Still waiting on black knobs and tip switch to arrive. I "aged" the white ones that came with the kit using the same wood stain as the body and they are awful looking!

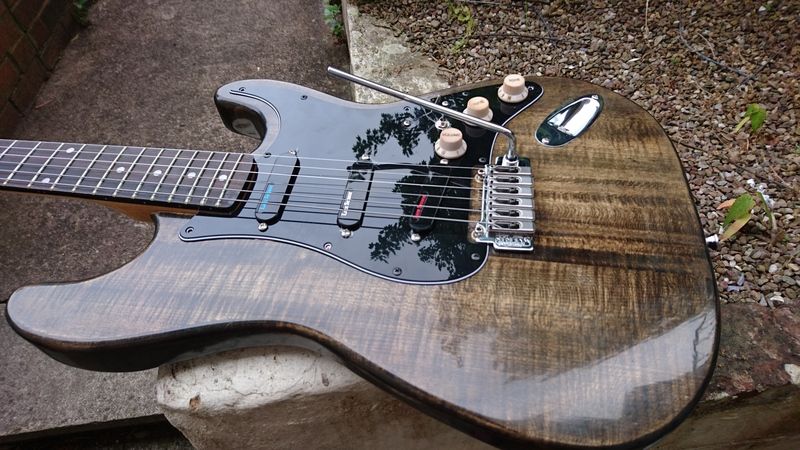
Still needs intonated, and I've shimmed the neck to give the vibrato a bit more play. I will have to rout a little bit out of the trem cavity at some point so that I can do more divebomz, but it works as it should, returns to pitch each time and feels good for whammies.

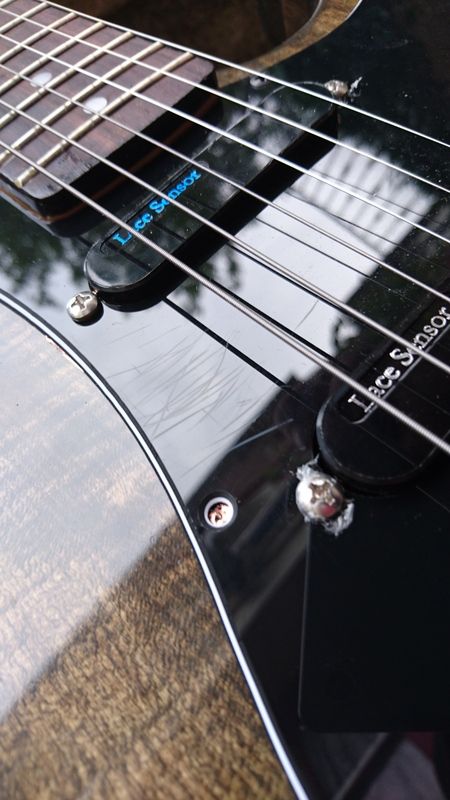
The sound of it is excellent. Completely silent, the neck and middle are amazing. Still getting used to the bridge, which is bright and clear despite being humbuckery. I might need to fiddle with pickup heights to get it where I want.

Image

Image

Image

Image

Image

Image

Image

Image
Image
User avatar
Nick
Y'SEE!?
Posts: 9481
Joined: Thu Apr 20, 2006 3:13 am
Location: Albany, NY

Post by Nick »

Beautiful, but sort the screws and 5 way cap and putting freshly finished guitars on stones makes me cringe.
User avatar
Bacchus
Whatever's handiest
Posts: 23475
Joined: Thu Apr 20, 2006 4:10 am
Location: wandering

Post by Bacchus »

Ha, I'm waiting for a cap to arrive with the knobs. The only one I have is bright white and lost.

There are screws missing from the scratchplate because it doesn't exactly match, so I'm going to wait to get back into school to drill more holes.

Both these things are kind of indicative of something else, though: there are more than a few flaws that I want to get right, but once I'd put it together and started rocking I realised how little I cared about those things.
Image
User avatar
Bacchus
Whatever's handiest
Posts: 23475
Joined: Thu Apr 20, 2006 4:10 am
Location: wandering

Post by Bacchus »

Also, the front is pretty, but you really don't want to see the back. Nobody ever will.
Image
User avatar
Nick
Y'SEE!?
Posts: 9481
Joined: Thu Apr 20, 2006 3:13 am
Location: Albany, NY

Post by Nick »

Bacchus wrote:Also, the front is pretty, but you really don't want to see the back. Nobody ever will.
Ah lol yeah my brown Aria strat refin came out like that, I completely understand.
User avatar
Bacchus
Whatever's handiest
Posts: 23475
Joined: Thu Apr 20, 2006 4:10 am
Location: wandering

Post by Bacchus »

I had decided that I wouldn't put the same effort in in grain filling and making sure it was flat and shiny. I thought I'd leave an open grain sort of thing. Then, despite my best efforts, the back ended up a bit, textured from me sanding the front of it.

When I was installing the bridge studs, I had to ease them in with a hammer. We made very sure to lay aprons and other soft stuff on the bench before starting, but there's still a hilariously perfect circle punched into the back of it.

Oil finishes are soft anyway, it was always going to end up ugly.
Image
User avatar
Doog
mid-century modem
Posts: 23058
Joined: Mon Apr 24, 2006 4:49 pm
Location: London

Post by Doog »

Bacchus wrote:, I had to ease them in with a hammer
:lol:

Looks slick as fuck, man- nice one!
User avatar
Bacchus
Whatever's handiest
Posts: 23475
Joined: Thu Apr 20, 2006 4:10 am
Location: wandering

Post by Bacchus »

Thanks, I'm pretty pleased. It's a really good guitar and a nice reminder of how good the design is that it was so easy to put together something good. Neck is a bit fatter than you'd expect from a strat, which is a nice surprise.

With black knobs:

Image

And the all important headstock decal:

Image
Image
User avatar
George
.
.
Posts: 20953
Joined: Fri Jul 03, 2009 11:52 am
Location: UK

Post by George »

Lovely fit and finish. Check out that gloss.