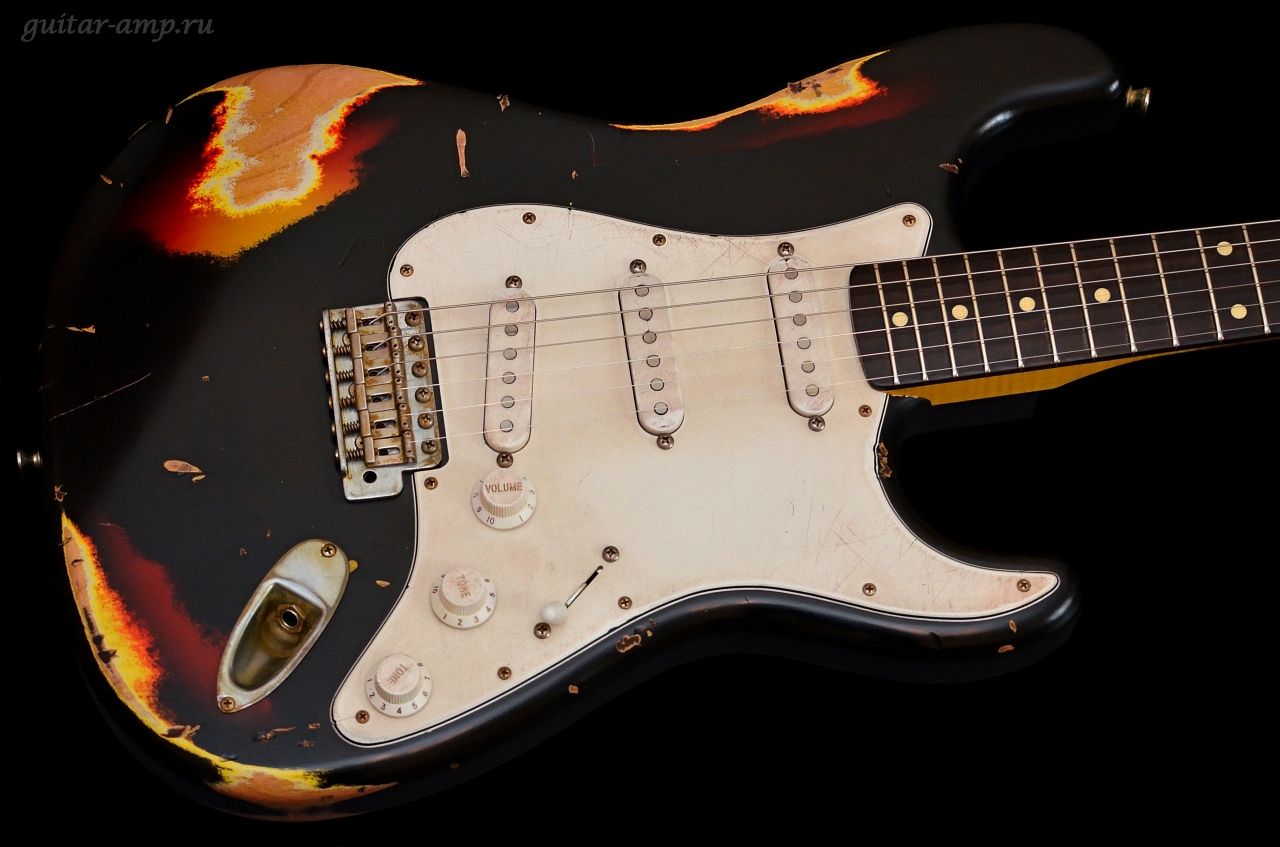
Picked this up in the sale area. I plan on painting it black with a matching headstock. Then I am going to sand through the black in some places showing the burst under it.
Parts of it will show through again. It is pretty bad really. It is yellow paint and black paint. A tiny bit of orange. Since it was painted over a finish, there is no wood showing through. Also the back was solid black. LOLOL
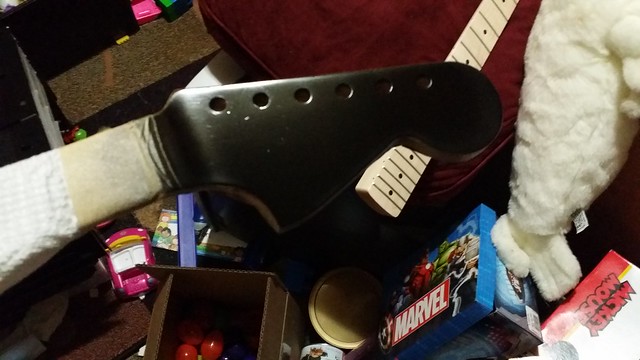
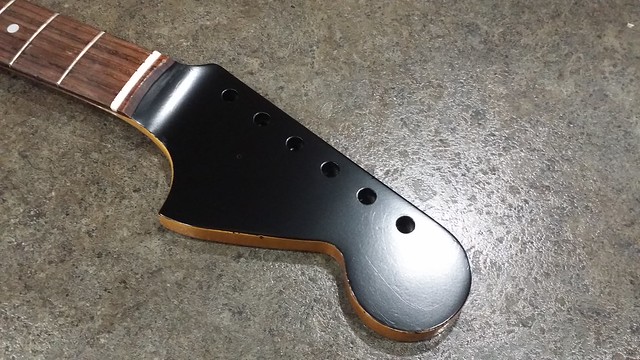
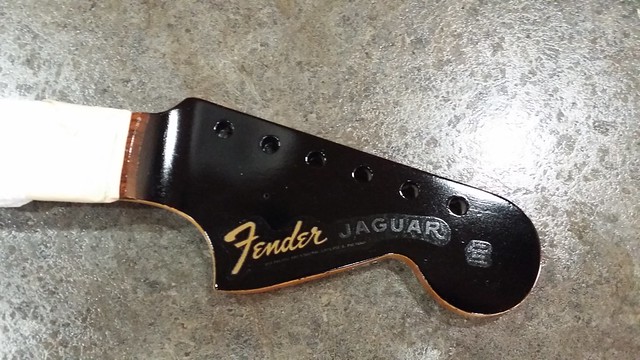
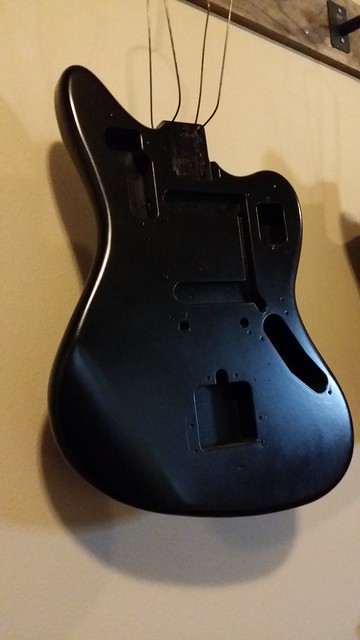
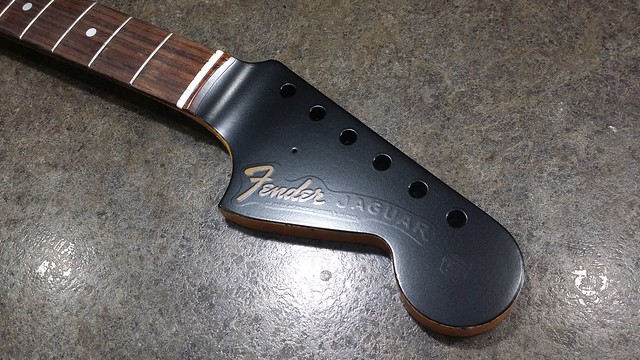
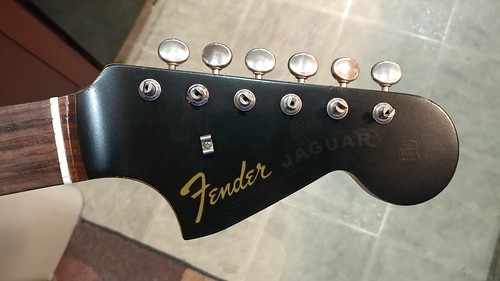
Headstock is done with black. I couldn't get a clean edge because it is dinged up, but when the rest is done, it should fit in fine since I am going to be kind of aging the body. Once the lacquer cures, I will start getting clear on it.
paul_ wrote:When are homeland security gonna get on this "2-piece King Size Snickers" horseshit that showed up a couple years ago? I've started dropping one of them on the floor of my car every time.
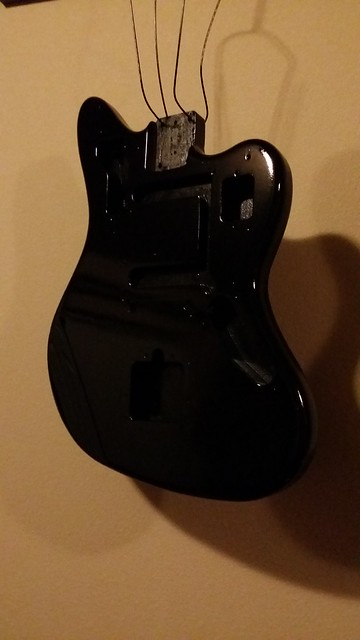
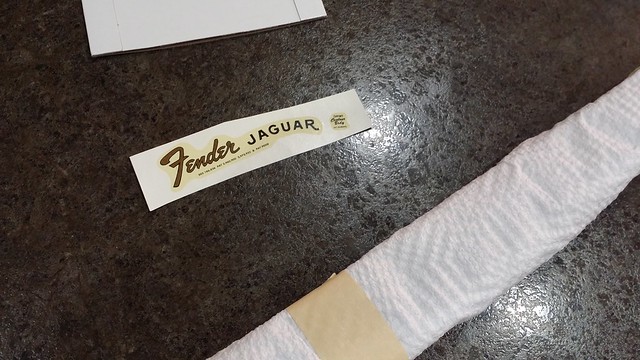
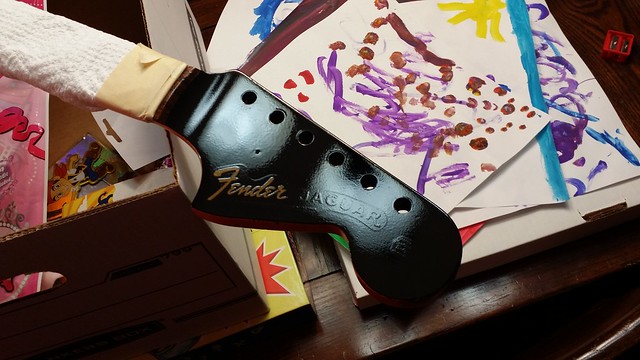
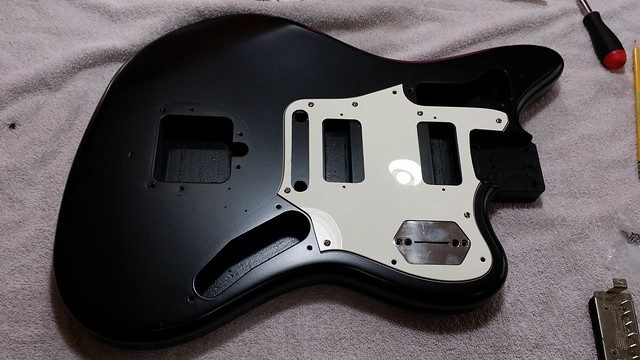
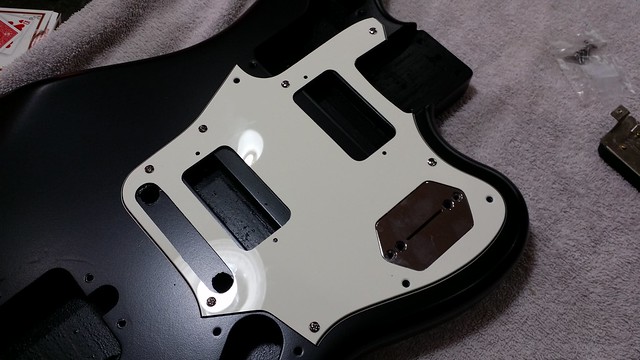
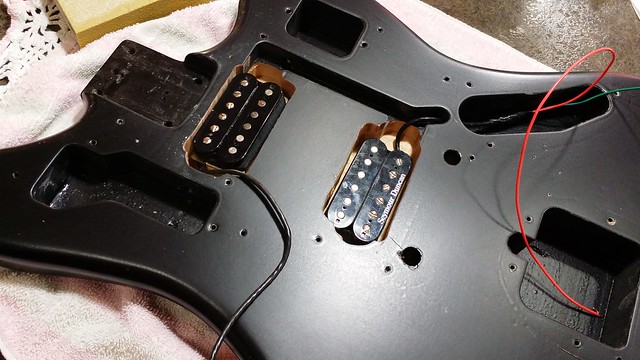
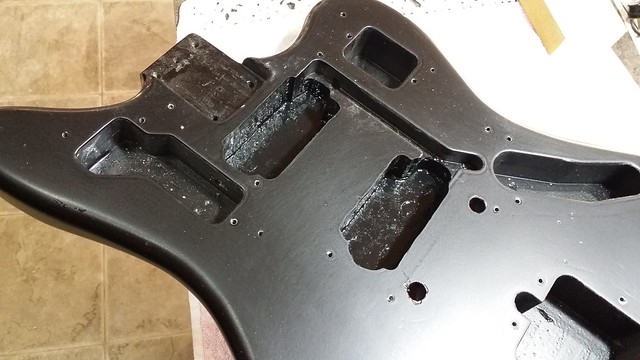
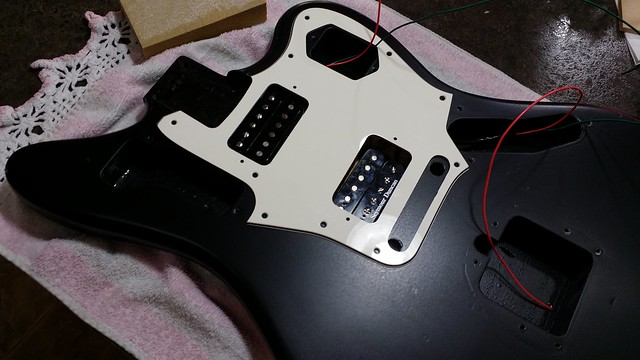
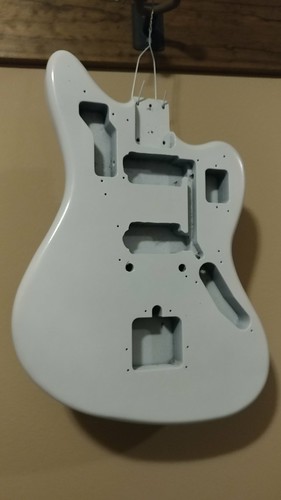
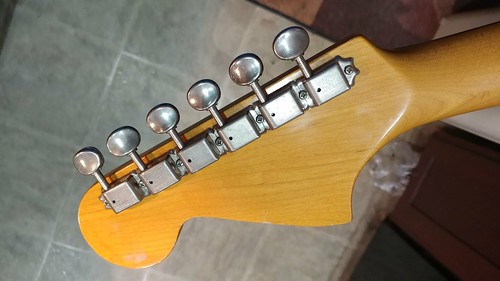
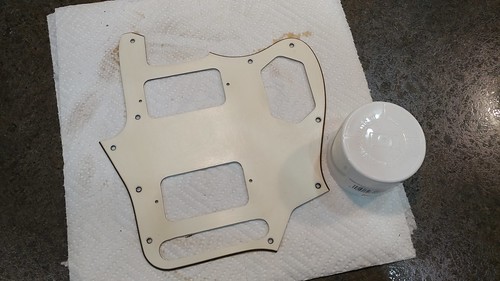
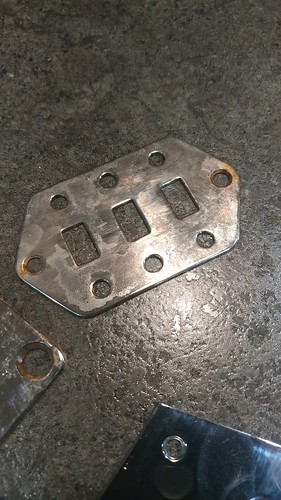
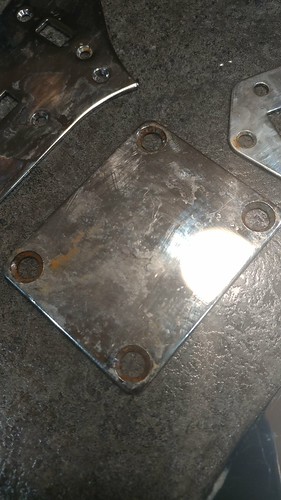
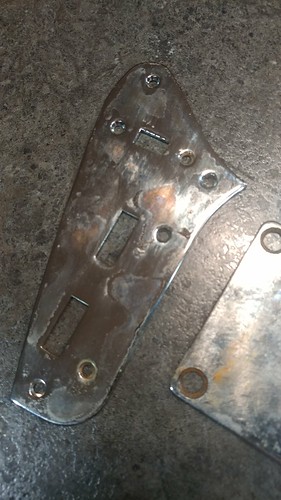
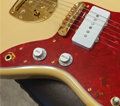
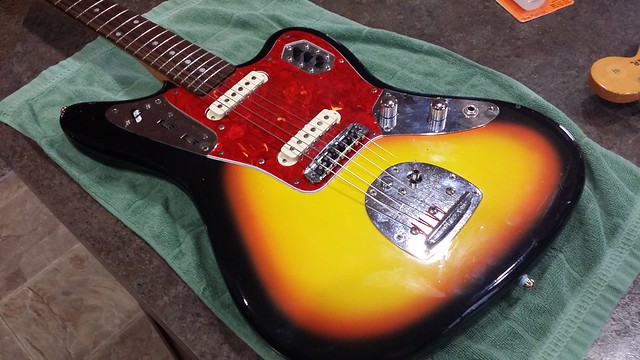
Long time no post on this project. To be honest, I got it close to being assembled and just wasn't excited about how it was going to look so I stopped working on it.... for almost two years... LOL I have a new plan and have some new steam. This is the last back burner project I have going on. Kind of excited to get it done. I didn't like the idea of all black with white guard and black pickups. Just kind of felt blah to me. I am doing to paint the body white and sand through to the black in some spots and such. I am going to go for chrome humbuckers. I am leaving the headstock black. I acid bathed the metal parts and have them rusting at the moment to go for a beater look. I am leaving the upper plate empty. The switch plate will just have two switches and no filter switch. That hole will be empty. The volume plate will just have a volume pot and knob so the second hole will be left empty. I kind of thought going for a haugepauge look might be kind of cool. At least it is exciting me to finish. I have the white done. I did two cans and will let them dry for a week before sanding. No clear since I want to sand through to the black in the usual places. Forearm, upper control area, and back belt/tummy area. I stained the white guard after sanding it to a matte finish so it has a beat up look. Anyways, here are the pics.
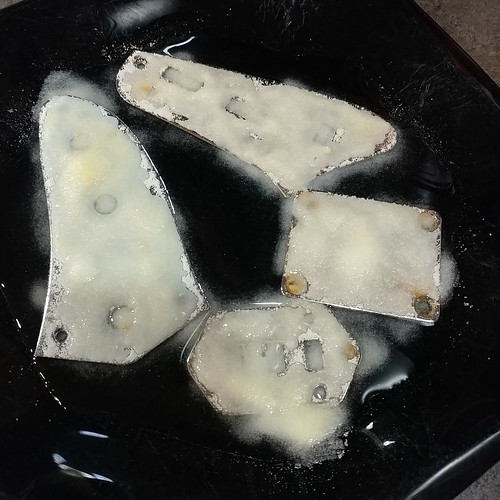
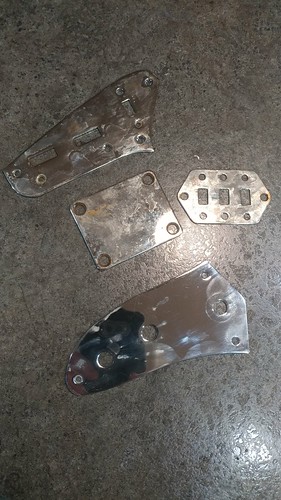
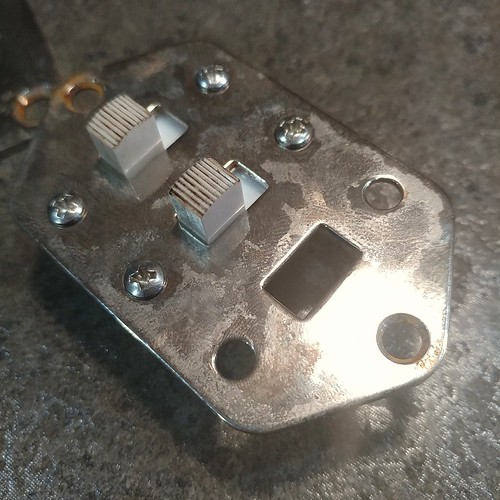
That volume control plate is a tank. It is back in the acid for a longer soak. It barely has any difference compared to the other parts. Here is how they are looking. I am pretty happy. I know that this kind of look is not natural. It isn't really what I am going for exactly. I want them to look beat up instead of shiney and covered in fingerprints. I also "aged" the white switches with dark walnut stain. Rubbed it on and wiped it off. It builds up in the little lines making them look kind of dirty. I like it.

 20150523_180417 by Christopher Louck, on Flickr
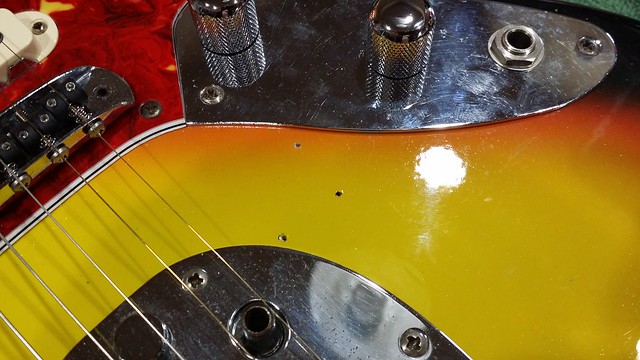 20150523_180421 by Christopher Louck, on Flickr
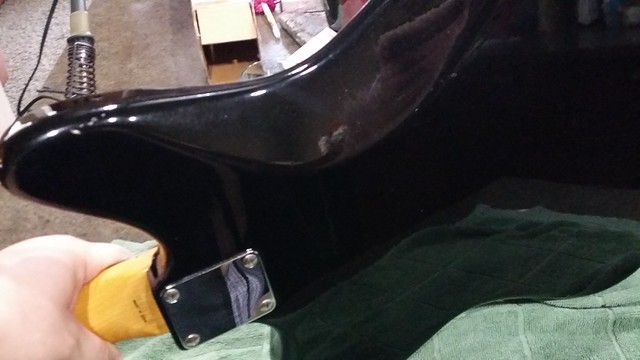 20150523_180439 by Christopher Louck, on Flickr
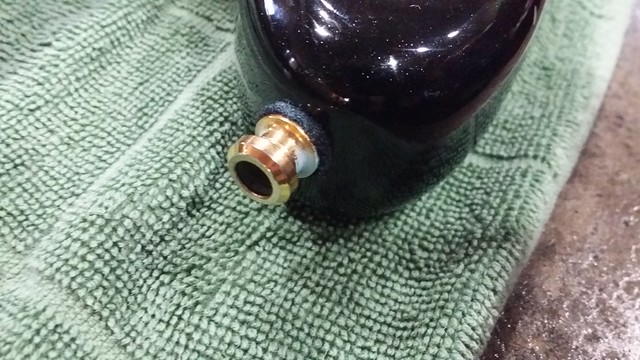 20150523_180516 by Christopher Louck, on Flickr
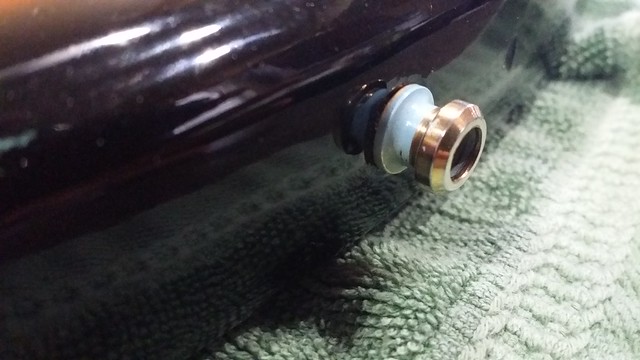 20150523_180528 by Christopher Louck, on Flickr
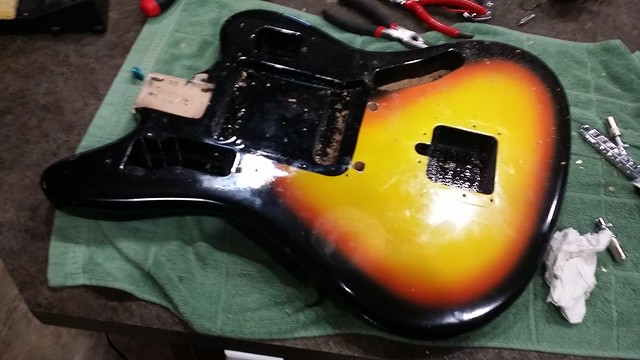 20150523_185807 by Christopher Louck, on Flickr
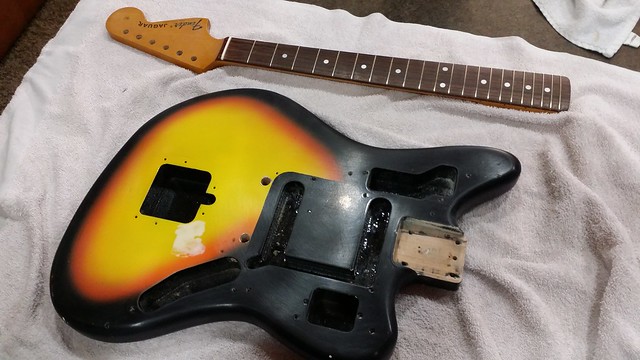 20150523_194008 by Christopher Louck, on Flickr